| Service | 🇺🇦 Ukraine | 🇨🇿 Czech Republic | 🇹🇷 Turkey |
|---|---|---|---|
| Crown placement | from USD 280 | from USD 476 | from USD 260 |
| Premium zirconia crown | from USD 282 | from USD 298 | from USD 225 |
Prices in the “Ukraine” column come from MediUkraine’s partner clinics. The Czech Republic and Turkey columns show the lower bounds of prices published by clinics there (for Turkey, also the Turkish Dental Association’s recommended 2026 tariff), collected in August 2026 and converted to US dollars at the rate on the day of collection. A dash means we could not find a comparable published price. In any country, the final cost is set by the clinic after an examination.
An implant is a titanium root screwed into the bone. It cannot be used for chewing until the visible part of the tooth is in place above it, and that part consists of two components: the abutment, a connector that protrudes from the gum, and the crown, which reproduces the shape and colour of a natural tooth. Together they form a restoration that is charged separately from the implant surgery.
The prosthetic stage begins once the implant has fused with the bone: usually after 3–4 months in the lower jaw and 4–6 months in the upper, and later after bone grafting. Before starting, the dentist checks the stability of the implant and takes a periapical X-ray: if bone loss is visible around the implant or it moves, work on it does not begin.
Most often it replaces a single missing tooth when the neighbouring teeth are healthy and you would rather not have them filed down for a bridge. If several teeth in a row are missing, the restoration will be different: a bridge on two implants or a screw-retained full-arch prosthesis on four to six supports that only the dentist can remove. These are separate treatments with their own indications and timelines, and we do not cover them here.
The stage is postponed if the mucosa around the implant is inflamed, there is untreated caries or periodontitis in the mouth, or hygiene is poor. Another obstacle is too little vertical space: when less than 5–6 mm remains to the opposing tooth, the restoration has to be designed differently or the bite height restored first. Uncontrolled bruxism without a protective splint is also a reason to deal with the cause first rather than put the work at risk of chipping.
MediUkraine helps patients find and arrange treatment; it is not a clinic. We select the clinic and a dentist with the right specialisation, agree visit dates and support patients throughout, including those travelling from abroad. The dentist decides on the restoration, material and timeline after an examination.

Travel. Ukrainian airspace is closed, so there are no commercial flights. Patients reach Lviv overland, most often from Poland: Rzeszów and Kraków airports are the usual entry points, with a train, bus or private transfer onward to the border and on to the city. Lviv is roughly 70 km from the Polish border, the shortest crossing of any Ukrainian city.
Visas. Citizens of the EU, the United Kingdom and the United States do not need a visa for short stays in Ukraine. Rules depend on your citizenship, so check your own before booking.
Safety, plainly. Ukraine is at war. Air raid alerts occur in Lviv, and an appointment can be interrupted by one. Several governments advise against travel to Ukraine, and while that advice stands, ordinary travel and medical insurance is often void — confirm your cover with your insurer before you commit to anything.
Language. MediUkraine handles correspondence, scheduling, the written treatment plan and the quote in English. The clinic's team communicates with international patients in English.
Payment. You pay the clinic directly. Our coordination service is free of charge for you.
More on travel, safety and insurance: Safety and travel.
The healing abutment is the first component of the prosthetic stage: a short titanium cylinder that is screwed into the implant in place of the cover screw and left for 2–3 weeks. During this time the mucosa heals around it in a funnel shape, creating the emergence profile, that is, the transition from the round cross-section of the implant to the shape of the neck of a natural tooth. Skipping this step shows straight away: the crown emerges from the gum as a straight column, a dark triangle remains between it and the neighbouring tooth, and food packs into the niche below the contact point.
In the smile zone the profile is more often shaped with a temporary crown than with a healing abutment. It is made from composite or acrylic, material is added to or removed from its cervical part several times, and the gum is given time to adapt to the new shape; this takes anywhere from a few weeks to two or three months. Once both the dentist and the patient are happy with the contour, it is transferred into the permanent work: the technician receives not only an impression of the teeth but also the shape that the soft tissue has taken on.
The shape is passed to the laboratory in one of two ways. The classic one is an impression with a transfer: a metal transfer coping is screwed into the implant and a silicone impression is taken; a closed-tray transfer stays in the mouth and is repositioned in the impression afterwards, while an open-tray transfer comes out with the impression through a hole in the tray and is more accurate. In the front of the mouth the transfer is first customised with composite to match the shape of the temporary crown, otherwise the profile shaped over months will not be captured in the impression. The alternative is an intraoral scan: a scan body is screwed in instead of a transfer, and the file goes to the laboratory without any silicone. This method is quicker and more comfortable, but with a deeply placed implant or a large edentulous area the dentist is more likely to take a conventional impression.
A stock abutment is a factory-made part available in several sizes by height, diameter and angle. It is cheaper, available immediately and, on back teeth with thick gum, usually does its job. Its limitation is that its cross-section is round and symmetrical, whereas the neck of a tooth never is: in the front of the mouth the difference in contour is visible to the naked eye, and the cement margin ends up either too deep or too shallow.
A custom abutment is milled for the specific case from a scan or an impression. The technician reproduces the contour created by the healing abutment or the temporary crown and places the margin where it is needed: slightly below the gum on the visible lip side and almost at gum level on the palatal side, so that excess cement is easier to remove. Abutments are made of titanium, zirconia or a combination of the two. Titanium remains the standard for back teeth, zirconia is chosen in the smile zone, where grey metal may show through thin mucosa, and the most common compromise is a restoration on a titanium base (Ti-base), in which the metal part forms the connection with the implant and carries the load, while the zirconia superstructure takes care of the appearance.
Screw retention means that the crown and abutment are screwed to the implant together, and the screw access channel is closed with PTFE tape and composite. The main advantage is reversibility: the restoration can be removed in a few minutes to tighten the screw, sent to the laboratory to repair a chip, or taken off so that inflamed gums can be treated, and then put back. There is no cement at all, and therefore no risk of it being left under the gum. The trade-off is a hole in the chewing surface, whose filling darkens over the years, and dependence on the angle of the implant: if the channel emerges at the incisal edge of a front tooth, this option is not suitable.
Cement retention gives a continuous surface with no hole: the crown is seated on the abutment with dental cement. This is simpler when the implant is at an awkward angle and gives a better aesthetic result in the front of the mouth. The main risk is residual cement. If the cement margin lies more than 1–1.5 mm below the gum, the excess cannot be fully removed even under magnification, and the cement left behind holds plaque and sustains inflammation around the implant; this shows up not immediately but months later. That is why the margin is raised with a custom abutment and excess cement is cleared with a probe and floss straight after fitting. Note too that a cemented crown cannot be removed without destroying it.
An intermediate option is screw retention with an angled channel, or cementing the crown onto the abutment outside the mouth and then screwing the finished unit in. In the first case a special screwdriver allows the screw access channel to be angled by up to 25–30 degrees and hidden on the palatal side. In the second, the technician cements the crown onto the Ti-base in the laboratory and removes the excess on the bench, so what goes into the mouth is a finished restoration held by a screw. Both solutions combine the reversibility of screw retention with the look of a continuous surface, which is why they are increasingly used in the front of the mouth.
The crown itself is most often made of monolithic zirconia, zirconia with layered porcelain, or porcelain fused to metal. Monolithic zirconia is strong and has no veneering layer that could chip off, so it is chosen for back teeth and for patients with bruxism; it looks plainer, although newer generations of the material are more translucent than the first. Zirconia with layered porcelain looks more natural, but the layered porcelain is what chips most often. Porcelain fused to metal is cheaper and has a decades-long track record; its weak point is a grey line at the gum, noticeable if the gum recedes. Lithium disilicate is used on implants to a limited extent, mainly in the front of the mouth and on a titanium base.
The last stage of the work is checking the occlusion, and on an implant it differs from ordinary prosthetic work. A natural tooth is suspended in the bone by the periodontal ligament and sinks by 25–100 µm under load, while an implant is fused with the bone and moves by only 3–5 µm. If the contacts are made identical, then under heavy clenching the neighbouring teeth give way and the implant takes all the pressure. So the contact is made lighter: with gentle closing, paper 8–12 µm thick passes through almost freely, with firm closing it leaves a faint mark, and the crown does not guide side-to-side jaw movements. This is checked both on the day of fitting and at the follow-up check, because the bite is still changing during the first weeks of adaptation.
Immediately after fitting the gum around the crown turns pale: this is an expected reaction to the pressure of the new shape, and the colour returns within 10–20 minutes. If the crown was cemented, it is best not to eat for the first two hours and not to floss in that area that day, so as not to disturb cement that has not yet reached its final strength.
For a few days the tooth feels unfamiliar: the tongue keeps checking the new surface, the gum is slightly sensitive, and chewing on that side feels unusual. This usually passes within 2–3 days. But if the crown noticeably gets in the way when you close your teeth, presses or hurts when you bite down, see the dentist within a few days rather than putting up with it: most often the cause is a high contact, and the adjustment takes ten minutes.
The gum takes longer to settle than you might expect. The contour stabilises over 4–8 weeks, and the interdental papilla in the front of the mouth may keep filling in for up to a year. That is why the appearance of a crown in the smile zone is usually judged no earlier than 2–3 months later, by comparing photos taken under the same lighting.
One thing to bear in mind: an implant has neither a nerve nor a periodontal ligament, so it does not hurt from overloading or at the onset of inflammation. The first signs of a problem are different: bleeding on brushing, swelling of the gum margin, an unpleasant smell, a feeling that the crown is moving. Pain appears late, when bone loss is already visible on an X-ray.
That is why check-ups follow a schedule, not how you feel. The first check is scheduled 2–4 weeks after fitting: the dentist checks the bite, the gum and how well you clean under the crown. After that come professional hygiene every six months and a periapical X-ray once a year, to track the bone level around the implant over time.
As for lifespan, the honest answer is: an implant is designed to last decades, while the visible part of the restoration is subject to wear. In long-term observation most crowns on implants last more than ten years, after which they are often remade because of chipping, wear or changes in the appearance of the neighbouring teeth. Only a dentist can forecast the lifespan for a particular patient after an examination: it depends on hygiene, the bite, bruxism and smoking more than on the brand of material.
Step 1. Examination and implant check. The prosthodontist examines the site, assesses the thickness and condition of the gum, the space to the opposing tooth and the position of the neighbouring teeth, takes a periapical X-ray and confirms the implant is stable. At the same visit the type of abutment and the method of retention are decided, the shade is selected and a quote listing the items is drawn up. If there are signs of inflammation around the implant, the mucosa is treated first, and only then does work move on to the restoration.
Step 2. Healing abutment. The cover screw is removed and a titanium healing abutment is placed instead, which over 2–3 weeks shapes the mucosa into the form of the future tooth neck. The procedure is short, often without any anaesthesia; a small incision is needed only when the implant is covered by mucosa. In the front of the mouth a temporary crown is often fitted instead of a healing abutment: it shapes the profile more precisely and spares you a visible gap.
In total the prosthetic stage takes 3–6 weeks and usually 3–4 visits: between fitting the healing abutment and fitting the finished work come the impression or scan and one to two weeks of laboratory fabrication, and the stage ends with a check-up. Anaesthesia is not always needed, no hospital stay is needed at all, and on the day of fitting you leave with a finished tooth you can already chew on.
The crown is the final part of a long cycle that began well before it. First the implant is screwed into the bone and left to fuse with it: in the lower jaw this usually takes 3–4 months, in the upper 4–6, and longer after bone grafting or a sinus lift. The prosthetic stage is planned towards the end of this period, when a check X-ray confirms that the implant is stable.
The prosthetic stage itself is compact: 3–6 weeks and 3–4 visits, two of them short and two longer. The longest wait is for the laboratory: one to two weeks while the technician makes the abutment and the crown. In the front of the mouth the cycle is longer, because shaping the gum with a temporary crown takes another one to three months.
For patients from other cities or abroad, two schedules work well. Either a single trip of 2–3 weeks, which accommodates the healing abutment, the impression and fitting; or two shorter trips, the first of two days for the healing abutment and the impression, the second for fitting and a check-up once the work is ready. The second option requires the healing abutment to stay in the mouth between the trips.
After fitting, the cycle moves into maintenance: a check-up after 2–4 weeks, then professional hygiene every six months, with the area around the implant cleaned using suitable tips, and a periapical X-ray once a year. At these check-ups the dentist checks the screw tightening, the condition of the contact point and the bone level.
Years later the restoration is renewed, and this is a normal part of the cycle, not a treatment failure. The crown can be remade while the implant stays in place: with screw retention it is simply unscrewed, with cement retention it is cut off. That is why the record of the prosthetic stage and the implant passport are worth keeping for as long as the restoration is in the mouth.
The most common complication at this stage is mechanical: screw loosening. The crown begins to move very slightly, food gets stuck between it and the neighbouring tooth, and it clicks when you chew. The causes are well known: a high contact, a screw tightened by feel instead of with a torque wrench, or an angled implant working under lateral load. If you come in promptly, this is simple to resolve: the restoration is removed, and the screw is replaced and tightened to the correct torque. Left for months, the screw may break, and retrieving the fragment from the implant channel is difficult.
The second group is chipping and fractures. Porcelain layered on a zirconia framework chips more often than monolithic zirconia, and this happens mainly in patients with bruxism and in those whose implant crown takes the load for several missing neighbours. A small chip can sometimes be polished out; a larger one requires the work to be remade: with screw retention the restoration is removed and sent to the laboratory, with cement retention a new one more often has to be made.
A particular risk of cement retention is residual cement under the gum. It is one of the proven causes of inflammation around an implant: cement holds plaque, the mucosa swells and bleeds, and if the process goes further, bone loss begins. That is why dentists try to raise a deep cement margin with a custom abutment, the excess is cleared straight after fitting, and the seating is checked on an X-ray.
Peri-implant inflammation is worth knowing about before the crown is even fitted. According to systematic reviews, mucositis, that is, inflammation of the mucosa without bone loss, occurs in roughly 40% of patients with implants, and peri-implantitis with bone loss in roughly one in five. The main risk factors are poor hygiene, smoking, uncontrolled diabetes and a history of periodontitis. Mucositis is reversible, peri-implantitis is not: lost bone usually cannot be restored, and treatment aims to stop the process.
There are also aesthetic limitations that are best mentioned up front. With a thin gum biotype the edge of the abutment may show through as grey, and the interdental papilla does not always recover: if the distance from the contact point to the bone is more than 5 mm, a dark triangle will most likely remain. The gum recedes slightly over the years, and the margin of the work may become exposed. One more detail: porcelain and zirconia do not respond to whitening gels, so your own teeth may later become lighter or darker than the crown.
The prosthetic stage is postponed or replanned if the implant moves or bone loss around it is visible on the X-ray, if the gum is inflamed and hygiene is poor, or if there is untreated caries or active periodontitis in the mouth. Caution is needed with uncontrolled bruxism without a protective splint, decompensated diabetes, bisphosphonate treatment and a history of radiotherapy to the jaws. The final decision on timing and the restoration is made by the dentist after an examination and an X-ray; the situation cannot be assessed remotely from a photo.
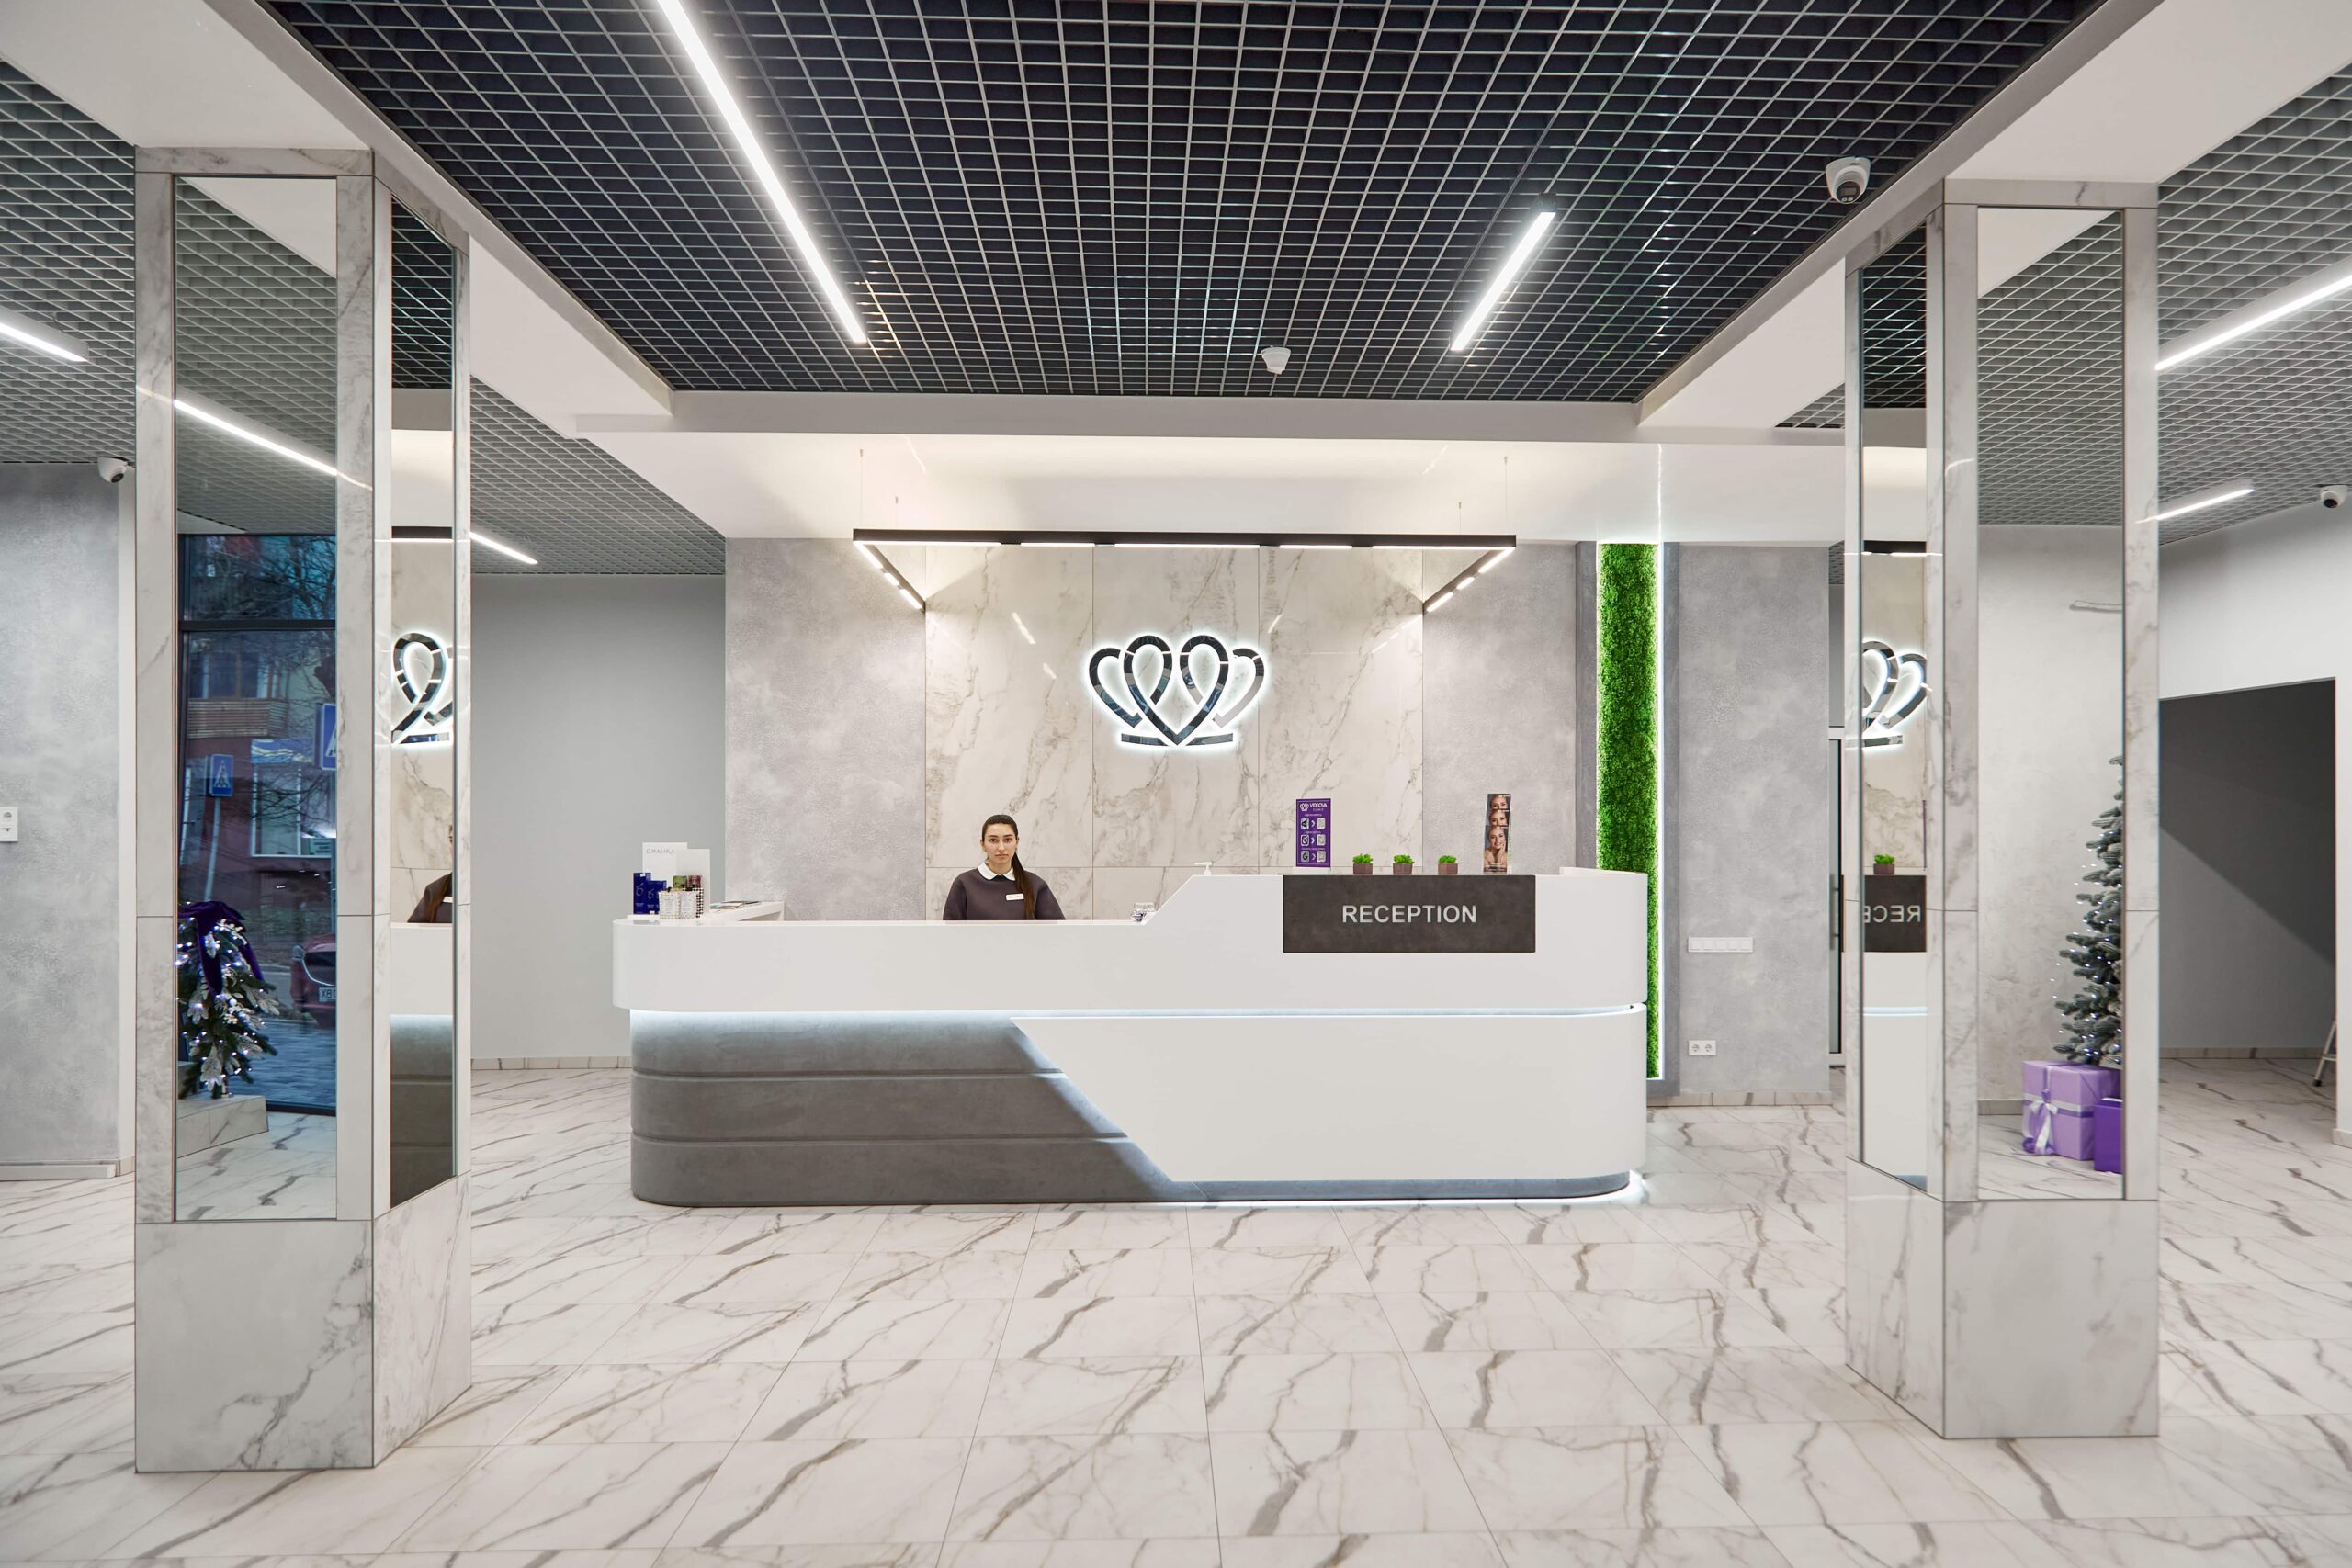
📍 Lviv, Ukraine
A dental clinic in Lviv with a separate doctor for each field: oral surgery and implants, prosthodontics, restorative dentistry, endodontics under a microscope, periodontics, orthodontics and paediatric dentistry.
These are two different pieces of work with different timelines. The implant is screwed into the bone and left to fuse with it for several months, and everything that goes on top is ordered later, once it is clear how the implant sits and how the gum has settled. The healing abutment, the abutment and the crown are charged as three separate items, and including them in the surgery price in advance would mean quoting for a restoration that has not yet been designed. In Ukraine, crown placement starts from USD 280.
At MediUkraine's partner clinic, crown placement costs from USD 280 and a premium zirconia crown from USD 282. The abutment is charged separately, and its price depends on the implant system. The quote also includes the healing abutment, an impression or scan, and the laboratory work. The final figure is set by the clinic after an examination and a check X-ray.
The choice is more often dictated by the position of the implant than by the patient's wishes. Screw retention is chosen when the screw channel emerges on the chewing surface or on the palatal side: such a crown can be removed in a few minutes to tighten the screw or repair a chip and then put back, and there is no cement under the gum. Cement retention is used when the implant is at an awkward angle and where a continuous surface without a hole matters. A compromise is screw retention with an angled channel, or cementing the crown onto a Ti-base outside the mouth.
Once the implant has integrated: usually after 3–4 months in the lower jaw and 4–6 months in the upper, and later after bone grafting or a sinus lift. Before starting, the dentist checks the stability of the implant and takes a periapical X-ray. After that, shaping the gum takes another 2–3 weeks and making the crown one to two weeks, so 3–6 weeks pass from the first prosthetic visit to the finished tooth. In the smile zone it takes longer, because the profile is shaped with a temporary crown.
An implant is designed to last decades, while the visible part of the restoration is subject to wear: most crowns last more than ten years, after which they are often remade because of chipping, wear or changes in the appearance of the neighbouring teeth. Lifespan depends on hygiene, the bite, bruxism and smoking more than on the material. Remaking the crown does not mean repeat surgery: the crown is removed and the implant stays in place. Only a dentist can forecast the lifespan for a particular patient after an examination.
The prosthetic stage itself is almost painless: the bone is not touched and no tooth is drilled. Anaesthesia is rarely needed, mainly when fitting the healing abutment if the implant is covered by mucosa and a small incision has to be made. After fitting, a feeling of pressure and gum sensitivity are possible for 2–3 days. Pain when biting, however, is not normal: most often it is a high contact that is adjusted in ten minutes, so see the dentist rather than wait.
Brush twice a day, as you would your own teeth, and also clean the space under the crown with superfloss, an interdental brush of the right size or an irrigator at moderate pressure. Metal instruments and abrasive pastes can damage the abutment surface, so remind your hygienist of this. Professional hygiene every six months and a periapical X-ray once a year make it possible to spot bone loss before any symptoms appear, because an implant does not hurt even when inflammation has already started.
Tell us what you need: we will suggest a clinic and a doctor and send you a cost estimate.
Request a consultation →